We recently fabricated several White Glass Table Top with Glass Mermaids at our Tampa, Fl Studio. We always have at our disposal numerous remnant materials ranging from Textured Glass Countertop to White Glass. We enjoy juxtaposing the opaque vs translucent properties of these which can be combined into imaginative ensembles and enhanced with a multi-color LED strip lights to further highlight the textured glass.
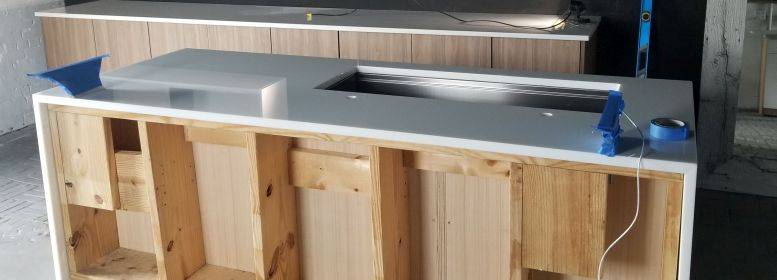
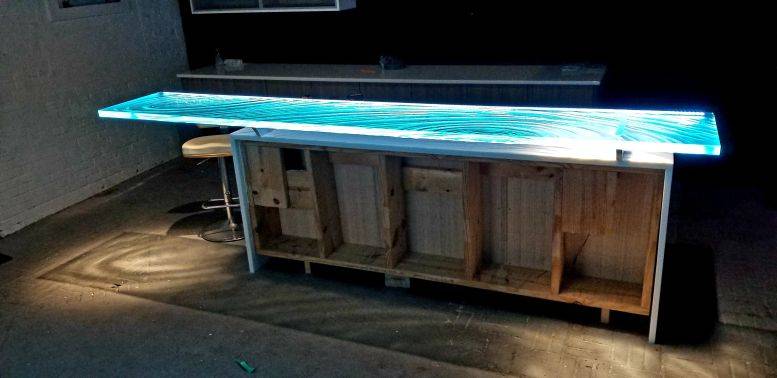
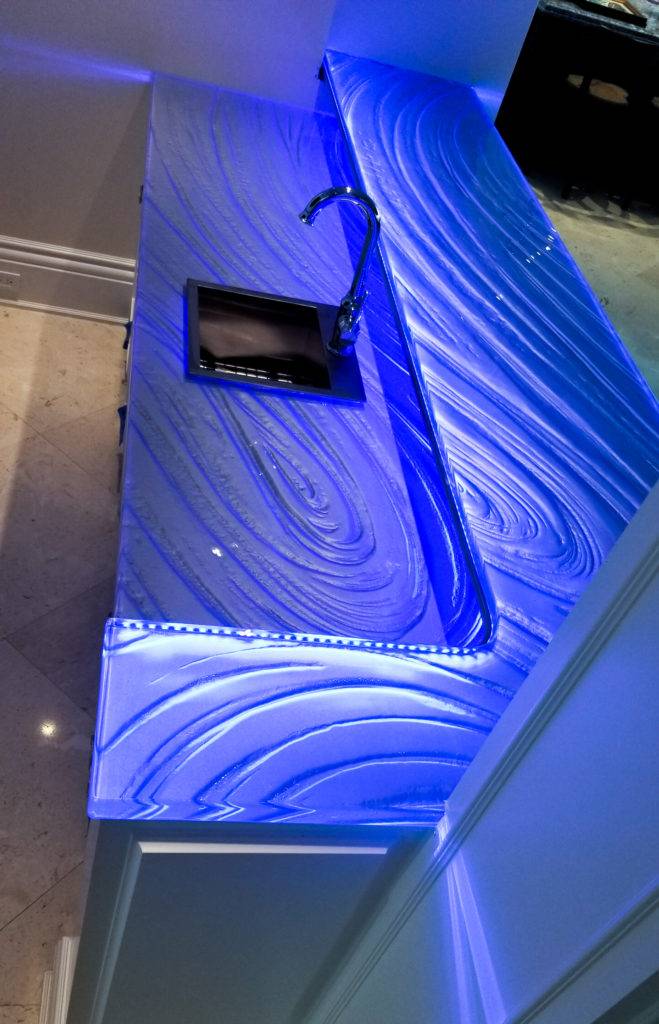
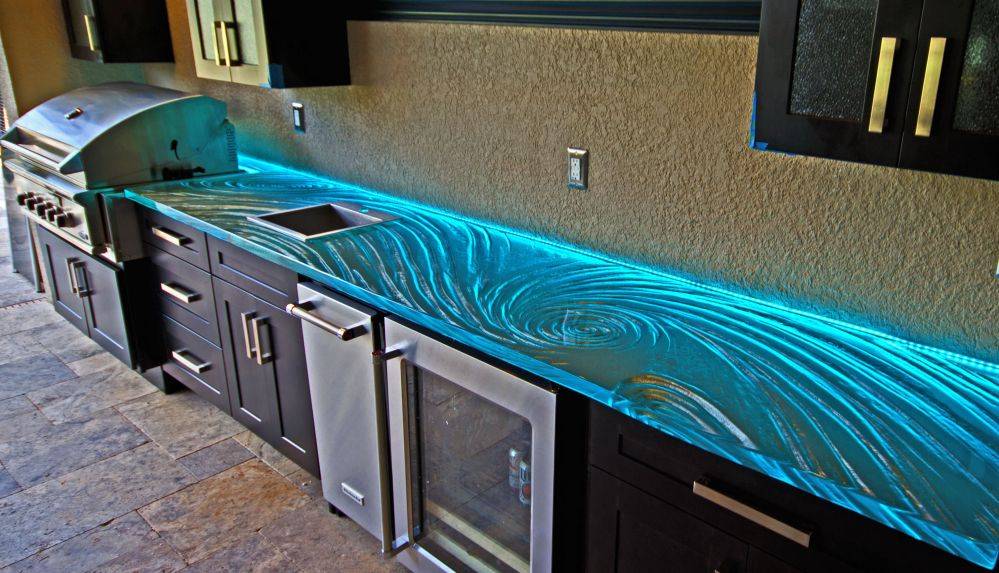
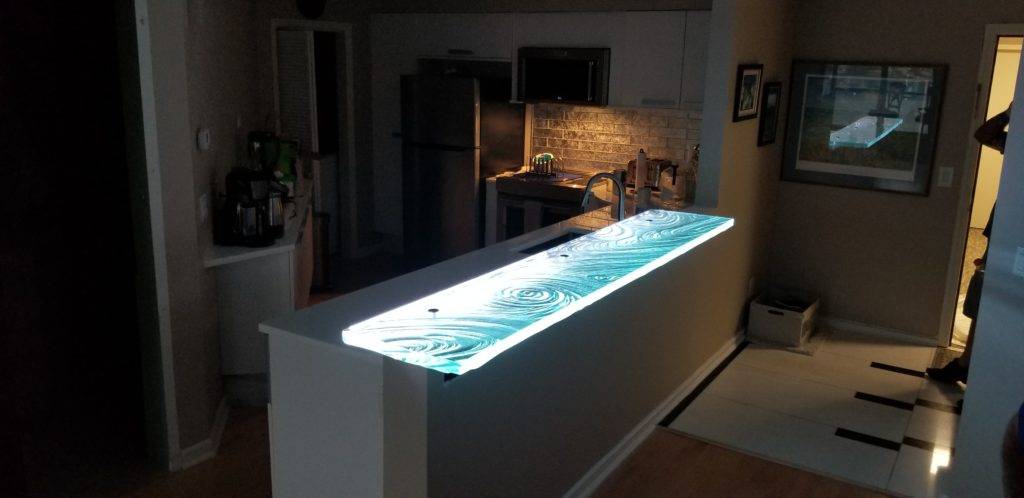
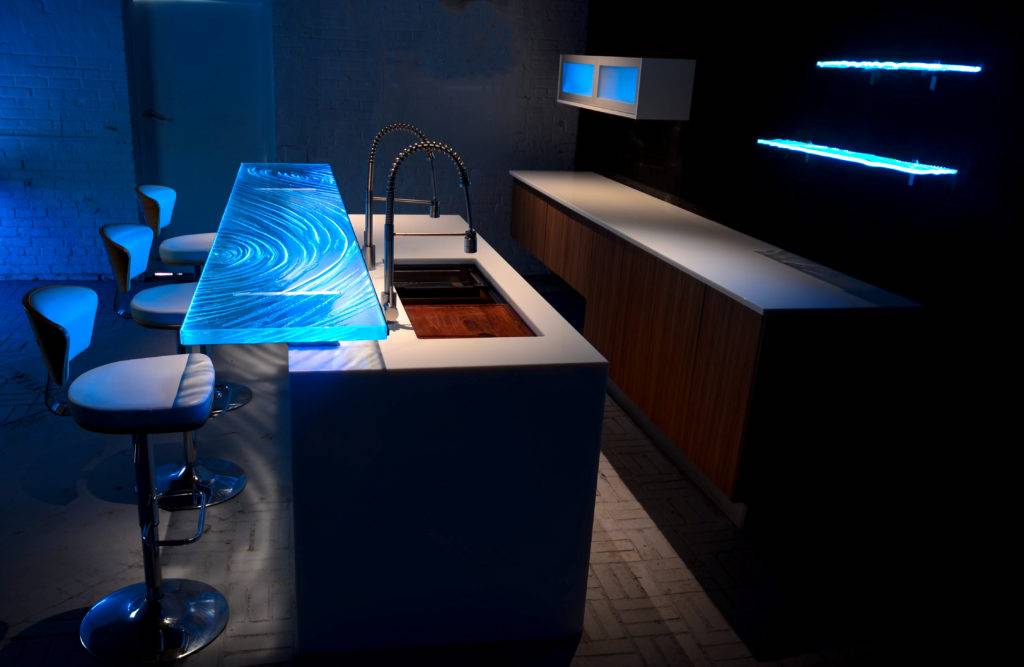
In Clearwater, Fl we have a client Kaia Bowls where we were engaged to provide them with our white glass countertops and some textured glass vertical walls for their beautiful interior remodel. (Their food is beautiful too.) Their clients are mostly foot traffic beach-goers, and in a highly competitive area for food, they wanted to catch the attention of passing vehicle and foot traffic. We pitched our idea and drafted a nautical themed set of tables for them with a partially exposed Mermaid as the textured glass portion against a backdrop of White Glass. Our Waterjet was employed to cut these glass elements so they would nest inside the white glass, thus allowing for the LEDs to be placed along the bottom and illuminate the glass upward. This type of design lends itself to strength of the table as well since the intermittent slices leave much of the integrity of the table intact. Our custom white glass table tops are practical for an evening get-together as well since they provide infinitely adjustable, gentle illumination for night dining. Our LEDs are adjustable many ways: 8,000,000 colors, and 0-100% brightness…all from your smartphone or iPad via Bluetooth. These are visible in the day, but at night are a real attraction. They white glass table tops are non-porous and very easy to clean while staying cool in direct Florida sunlight. There are infinite variations of this ensemble design as shown below in previous installations. The pieces can be mated horizontally, or as in the case of the white glass table top with Mermaids, vertically integrated.
Future combinations will be be forthcoming to include islands in countertops, sea life, etc. Stay tuned!
Thank you for reading. If interested in composing your own custom white glass table top ensemble, give me a call at (813) 784 5211….or Jeff@DowningDesigns.com

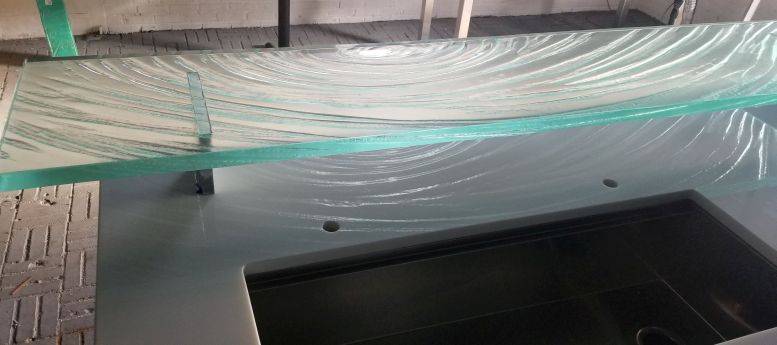
White Glass Table Top with Mermaid Profile in Glass
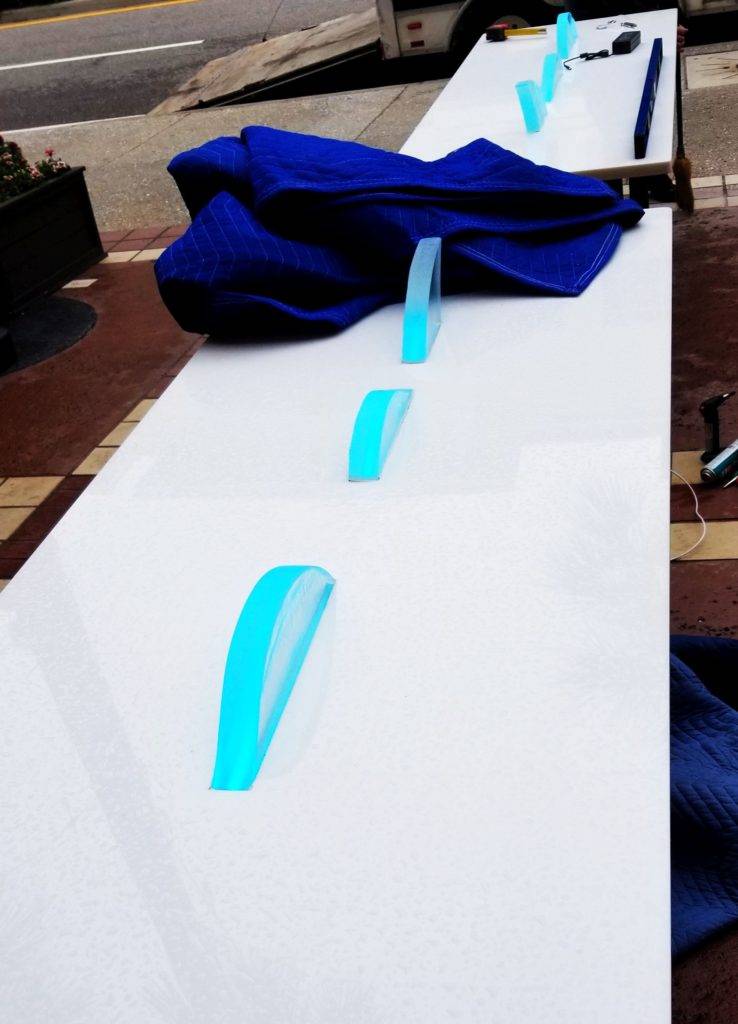
White Glass Table Top with Mermaid Profile in Glass
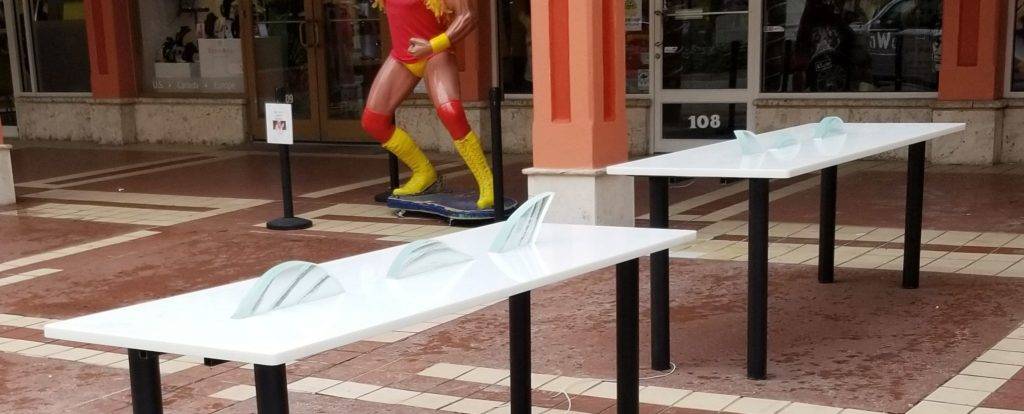
White Glass Table Top with Mermaid Profile in Glass
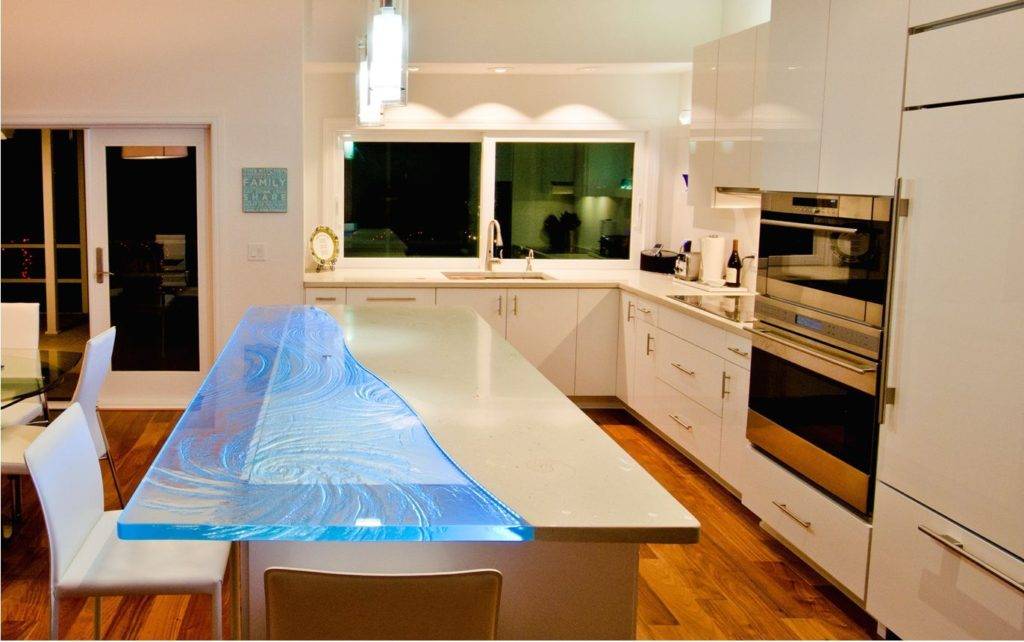
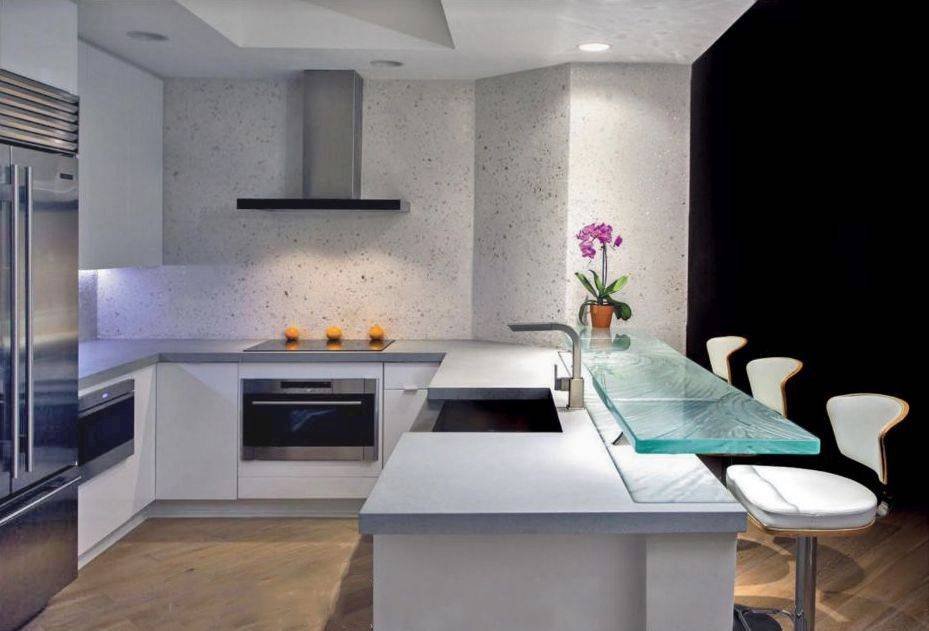
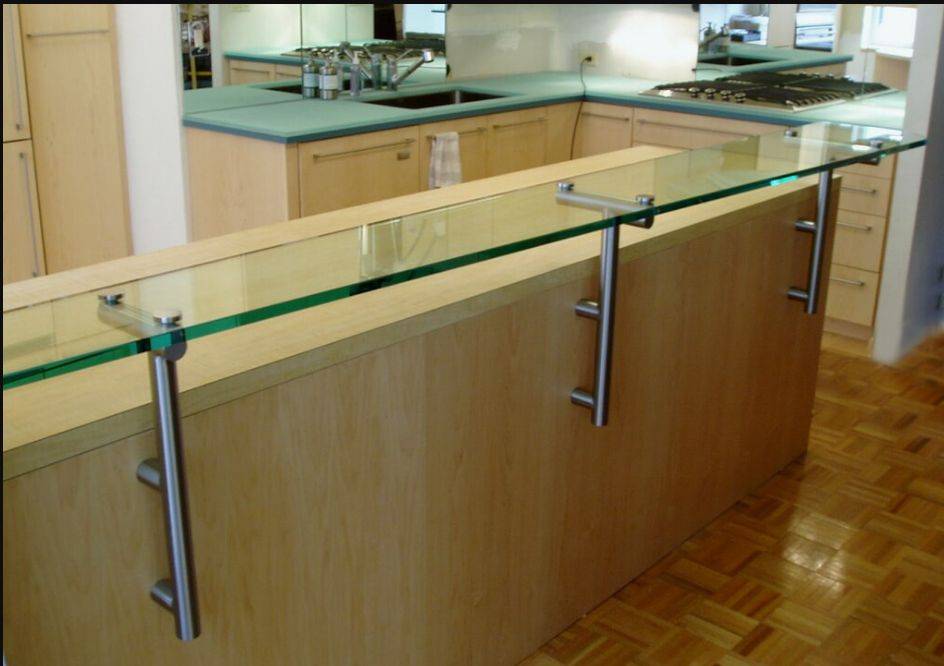
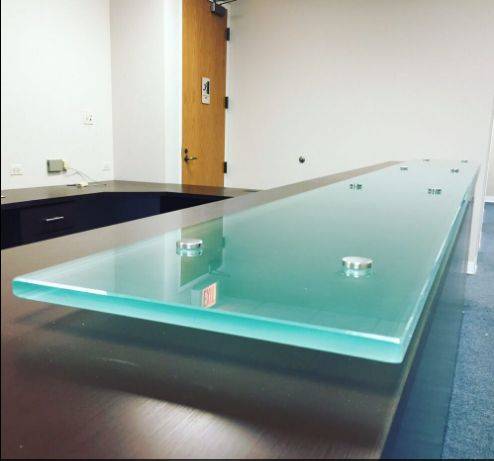
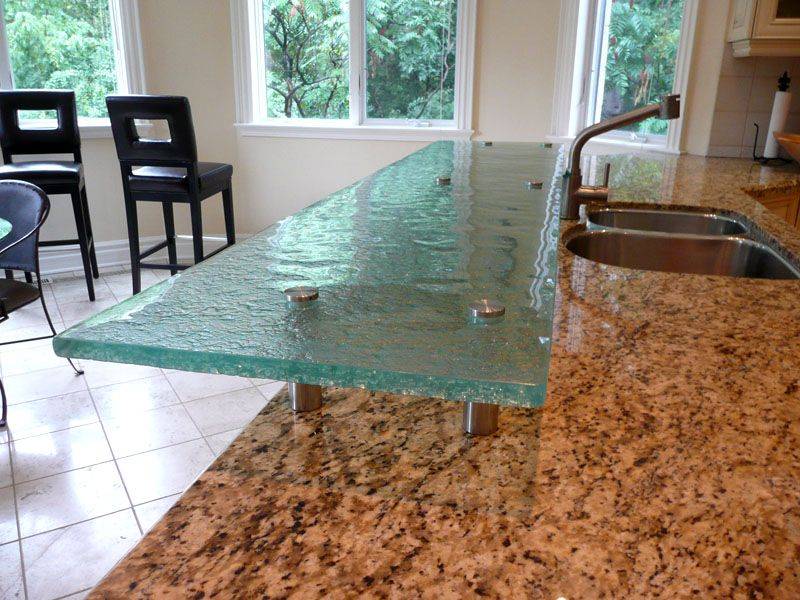
Textured Glass Countertop mated with concrete Countertop
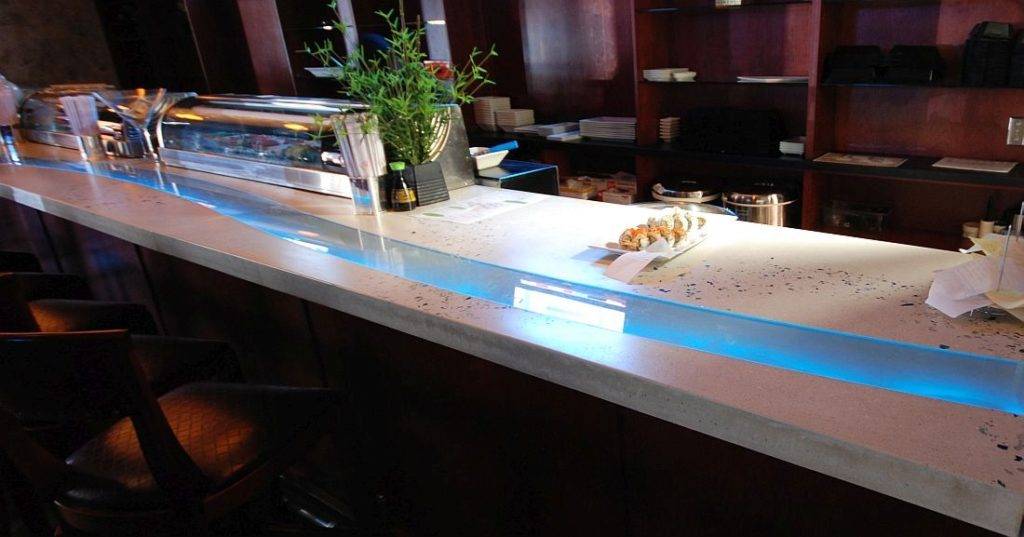
Glass Countertop inset into concrete Countertop
The post Custom White Glass Table Top with Mermaids lit by LEDs appeared first on Downing Designs.
source https://downingdesigns.com/white-glass-table-top-mermaid/